How to Photograph Mushrooms for Accurate Identification?

Nathan Cole
Mycologist · Author · Fungi Expert
Updated
May 11, 2026
"I built our four-image mushroom identifier tool after seeing thousands of submissions fail because of a single missing angle — almost always the base. The framework in this guide is the same one we use internally to validate every photo set we process.
Why Photo Quality Decides Identification
Mushroom identification is a process of elimination through diagnostic features. A mycologist doesn't look at a single image and recognize a species the way you might recognize a friend's face — they look at a combination of structural traits and rule out everything that doesn't match. If your photo only shows one trait (the cap, for example), you've handed the identifier just one data point out of the dozen they need.
This is why a single top-down photo, no matter how beautiful, almost never produces a reliable ID. The same is true for AI tools: a model can only analyze the pixels you provide. Hide the gills, crop out the base, or shoot in poor light, and even the best AI mushroom identifier will return an unreliable guess.
Essential Photos for Identification
These are the six shot types that separate a guessable photo set from a verifiable one. Each one answers a different diagnostic question.
Top of the Cap
Reveals overall color, surface texture, and any spotting or scaling. Note whether the cap is convex, flat, depressed, or umbonate (with a central bump). Surface details — dry, sticky, viscid, scaly, smooth, fibrillose — narrow the genus immediately.
How to shoot it: Position the lens directly above the cap, fill the frame, and avoid shadows from your own body.
Underside (Gills, Pores, or Teeth)
Often the single most decisive image in any photo set. The structure under the cap places the mushroom into a major group: gills (Agaricales), pores (Boletales, polypores), teeth (Hydnaceae), ridges (chanterelles), or smooth (some Russulas). Spacing, attachment to the stem, and color also matter.
How to shoot it: Tilt the mushroom or cut a second specimen in half and lay it on its side so the underside faces the lens cleanly.
Full Stem and Base
Carefully dig up the entire mushroom — do not snap the stem off at ground level. The base often hides the most diagnostic and most safety-critical structures: the volva (sac-like cup at the base of Amanita species), bulbous swellings, attached mycelial threads, or rooting extensions.
How to shoot it: Brush off loose soil but leave the structure intact. Photograph the full stem from cap to base in one frame, against a neutral background if possible.
Cross-Section
Slice the mushroom vertically through the cap and stem. The cut surface reveals internal flesh color, layering, hollowness, and any bruising reaction. Some species turn blue, red, or yellow within seconds of being cut — and that color change can be the deciding factor between two visually identical species.
How to shoot it: Photograph immediately after cutting to capture the true initial color, then again after 2–5 minutes to document any change.
In-Situ / Habitat Photo
Step back and capture the mushroom where it actually grew. Is it on a fallen log, buried wood, leaf litter, lawn grass, or open soil? Are there specific trees nearby — birch, oak, pine, beech? Many fungi form mycorrhizal partnerships with specific tree species, so the host tree alone can rule out half the possible matches.
How to shoot it: Take one wide shot showing the substrate, and if possible a second shot showing nearby tree trunks or leaves overhead.
Different Ages (Young Buttons + Mature)
When a cluster includes specimens at different stages of growth, photograph at least one young button and one fully mature individual. Caps change shape dramatically with age, gill color shifts as spores mature, and partial veils tear or disappear. A young + mature pair captures the full developmental signature of the species.
How to shoot it: Lay specimens side by side on a neutral surface and shoot from above, with both fully in focus.
Photo Quality Standards That Matter
Even a complete six-shot set will fail if each individual image is technically poor. These four standards are non-negotiable.
Lighting
Natural overcast daylight is the gold standard — it eliminates harsh shadows and renders true color. Avoid direct flash, which flattens texture and shifts hues.
Focus
Tap-to-focus on phones; on cameras, use a small aperture (f/8–f/11) for depth of field. The entire specimen should be sharp from cap to base.
Color Accuracy
No filters, no "vivid" or "warm" presets, no aggressive editing. Color is a primary diagnostic trait — distortion makes it actively misleading.
Framing & Scale
Show the whole specimen with a small margin. Include a scale reference when possible — a coin, a finger, or a ruler.
The 5-Shot Field Workflow
When you find a mushroom in the field, work through these five shots in order — every single time. Building it into muscle memory takes one or two outings.
Top View First (don't touch yet)
Photograph the cap from above before you handle the mushroom — this preserves any natural debris, water droplets, or surface coating that might rub off.
Side Profile (stem visible)
Get low and shoot horizontally to capture the full silhouette: cap shape, stem proportion, any ring (annulus), and how the mushroom sits in its substrate.
Underside (tilt or pluck a second specimen)
If there's more than one mushroom in the cluster, take one for the underside and cross-section shots so you can leave the in-situ specimen intact.
Excavated Base
Gently work a finger or stick into the soil around the stem and lift the entire base out cleanly. Photograph the full stem with base still attached. This is the step most people skip — and it's the most important one for safety.
Habitat Wide Shot
Step back two meters and capture the mushroom in context: substrate, surrounding vegetation, and nearby trees if visible.
Advanced Diagnostic Photos
For tricky specimens — or any mushroom you might consider eating — these three additional photos can be the difference between a confident ID and a guess.
5.1 🌫️ Spore Print
A spore print captures the actual color of the spores released by the gills — white, cream, pink, brown, purple-black, or jet black. This single piece of information rules out entire genera.
How to capture: Cut the cap from the stem, place it gill-side down on a sheet of paper that is half white and half black, cover with a glass to keep humidity in, and wait 6–12 hours. Photograph the resulting print under bright neutral light.
5.2 💙 Bruising and Color Change
Many bolete species turn blue within seconds of being cut or bruised; some Agaricus turn yellow; others redden. The speed and intensity of the reaction is itself diagnostic.
How to capture: Take a "before" photo of intact flesh, then press firmly with your thumb or scrape with a knife. Photograph again at 30 seconds, 2 minutes, and 5 minutes.
5.3 🔪 Detailed Cross-Section
Beyond the basic vertical slice, look for: a hollow vs solid stem, layered flesh (darker rind, lighter core), a distinct medullary line, or insect tunneling that may suggest age.
How to capture: Use a sharp knife in one clean stroke. Lay both halves flat-side up and shoot from directly above.
Habitat & Context Documentation
Habitat is the most underused piece of diagnostic information available to amateur foragers. Three details are worth recording every time:
A mushroom growing from a buried birch root is in a different conversation than the same-looking mushroom on a rotting pine log. Habitat alone can eliminate entire families of possibilities.
How to Improve Mushroom Identification Accuracy
Beyond shooting technique, these field habits compound over time and make every identification more reliable.
Toxic Lookalikes & Safety Rules ⚠️
Most serious mushroom poisonings are not caused by exotic species — they're caused by ordinary edible-looking mushrooms misidentified because of an incomplete photo set.
What Is the Best Lens for Photographing Fungi?
For identification — not for art — the best lens is the one that lets you get close, keep the entire specimen sharp, and render true color. That points to a few specific options depending on what you're shooting with.
📱 If You're Using a Smartphone
The main (1x) wide lens is usually best — it has the largest sensor and the best low-light performance. Avoid the digital zoom; instead, get physically closer. Many modern phones have a dedicated macro mode for subjects within 2–10 cm; use it for spore prints and texture details.
Tip: Lock exposure by long-pressing the screen on the brightest part of the cap to prevent overexposure.
📷 If You're Using a Mirrorless or DSLR
A 90mm or 100mm macro prime lens (e.g., Sigma 105mm f/2.8, Canon RF 100mm Macro, Nikon 105mm Micro) is the standard choice. The working distance lets you light the subject without the lens casting a shadow, and the 1:1 magnification handles spore prints and fine surface detail.
Alternative: A 35mm or 50mm with close-focus capability works well for full-specimen and habitat shots.
⚙️ Settings That Matter More Than the Lens
Aperture f/8 to f/11 for depth of field across the whole specimen. ISO as low as conditions allow (ISO 100–400 in daylight). White balance set to "cloudy" or "daylight" — never auto, which drifts unpredictably under forest canopy. A small reflector or even a sheet of white paper bounces light into shadows and improves color rendering more than any lens upgrade.
Using Photos with AI Identification Tools
When we designed our AI mushroom identifier at MushroomIdentifiers.com, the first decision was to require four image slots rather than one — cap, underside, stem/base, and habitat. That single design choice cuts the misidentification rate dramatically compared to single-image tools, because it forces the photo set to actually contain the diagnostic information the model needs.
"When I built the four-image identifier, I tested it against single-photo competitors using the same specimens. The four-image version caught toxic lookalikes that the single-image tools confidently called edible. That's not better AI — that's better input."
✅ What Works Well
- Multiple angles (≥4 photos)
- Sharp focus and correct exposure
- Visible diagnostic features (underside + base)
- Habitat shot showing substrate and host trees
❌ What AI Cannot See
- Smell, taste, or texture in your hand
- Spore print color (unless you photograph it)
- Speed of bruising reaction
- Subtle features lost to blur or overexposure
Common Mistakes to Avoid
- ✗Top-down only. The single biggest cause of failed identifications.
- ✗Snapping the stem at ground level. Destroys the base — and the most safety-critical features.
- ✗Tight crops that hide the substrate. Loses the habitat context that often resolves the ID.
- ✗Filters and "auto-enhance". Distorts colors that the identification depends on.
- ✗Direct flash. Flattens texture and shifts color temperature.
- ✗Photographing only one specimen from a cluster. Misses age variation that confirms the species.
Frequently Asked Questions
❓ Can mushrooms be identified from pictures alone?
Often, yes — when the photo set is complete. A reliable identification typically requires four to six images showing all key angles plus habitat. Single-photo identification, even by experts, has a high failure rate. Tools like the four-image mushroom identifier exist precisely because no single photo carries enough information.
❓ How many photos are enough?
Four is the practical minimum: cap, underside, full stem with base, and habitat. Six is ideal: add a cross-section and a young+mature pair. For difficult or potentially toxic specimens, add a spore print and a bruising sequence.
❓ Is the underside really more important than the cap?
In most cases, yes. The underside structure — gills, pores, teeth, ridges, or smooth surface — places the mushroom into a major taxonomic group within seconds. The cap shows surface traits, but two completely unrelated species can have nearly identical caps.
❓ Why do I need to dig up the base instead of cutting the stem?
Because the base hides the most safety-critical structures. The volva of Amanita species sits below the soil line — cut the stem at ground level and you've literally removed the evidence that would have warned you the mushroom is deadly. Always lift the entire specimen out of the substrate.
❓ What lighting is best for mushroom photos?
Bright overcast daylight, period. Direct sun creates harsh shadows and blows out cap highlights; deep shade produces blue color casts; flash flattens texture. If the day is sunny, position your body to cast a soft shadow over the specimen and shoot in that diffused light.
❓ Does an AI identifier replace an expert?
No — and any tool that claims it does is being dishonest. A well-designed AI mushroom identifier produces a ranked shortlist of probable species, which is enormously useful for narrowing down possibilities. Final identification — especially for anything you'd consider eating — should always involve an experienced human mycologist or a local foraging group.
Ready to Identify Your Mushroom?
Take your four core photos — cap, underside, stem with base, and habitat — and upload them to our identifier built specifically around the four-image standard.
Try MushroomIdentifiers.com →Always verify with experts before consuming any wild mushroom.
Sign in to leave a comment and join the discussion.
 Species Guide
If you're looking for edible mushrooms in Indiana, you'll find a surprising diversity of species growing in the state's hardwood forests, river valleys, and...
 Species Guide
Kennett Square, Pennsylvania, is known worldwide as the Mushroom Capital of the World , producing a significant share of the fresh mushrooms consumed in the...
 Species Guide
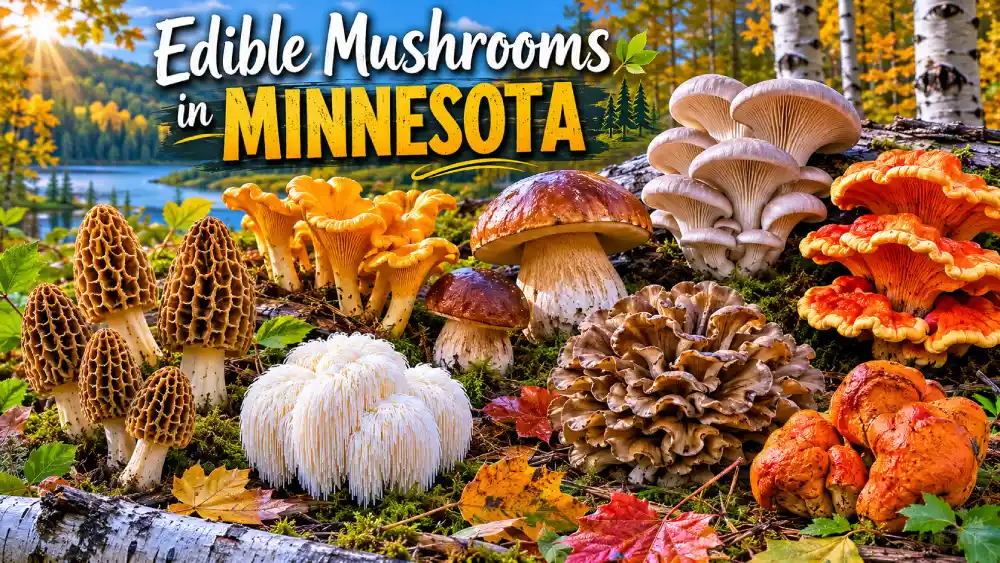
Minnesota is one of the best states in the Midwest for mushroom foraging, offering a rich diversity of edible fungi across hardwood forests, boreal...